Braiding has long been a cherished styling technique that offers flair, variety, and practicality. Whether you’re looking to add new hairstyles to your personal repertoire or explore a creative outlet, learning how to braid can be a rewarding process. This guide will show you foundational approaches, discuss popular braid types, and share tips for achieving neat, stunning looks.
Keep in mind that everyone learns at a different pace, so be patient with yourself. By the end of this guide, you’ll have the basic knowledge you need to create beautiful braids at home, even if you’re a complete beginner.
Why Braiding is a Great Skill to Learn

Braids are not only stylish, but they’re also highly functional. Here are a few reasons why many people love this hair styling technique:
- Low Maintenance: Once you’ve braided your hair, it often stays neat for hours, or even days, depending on the style.
- Versatility: You can find braid options for any occasion—casual, formal, or in between.
- Hair Protection: Braids help keep hair secure, minimizing damage from wind, friction, or constant styling.
- Room for Creativity: There’s an entire world of braiding methods. From traditional three-strand styles to elaborate cornrows and fishtails, there are plenty of ways to get creative.
Having a few key braiding techniques in your skill set can help you adapt quickly to various styling needs. Plus, doing your own braids can save money and time by reducing trips to the salon.
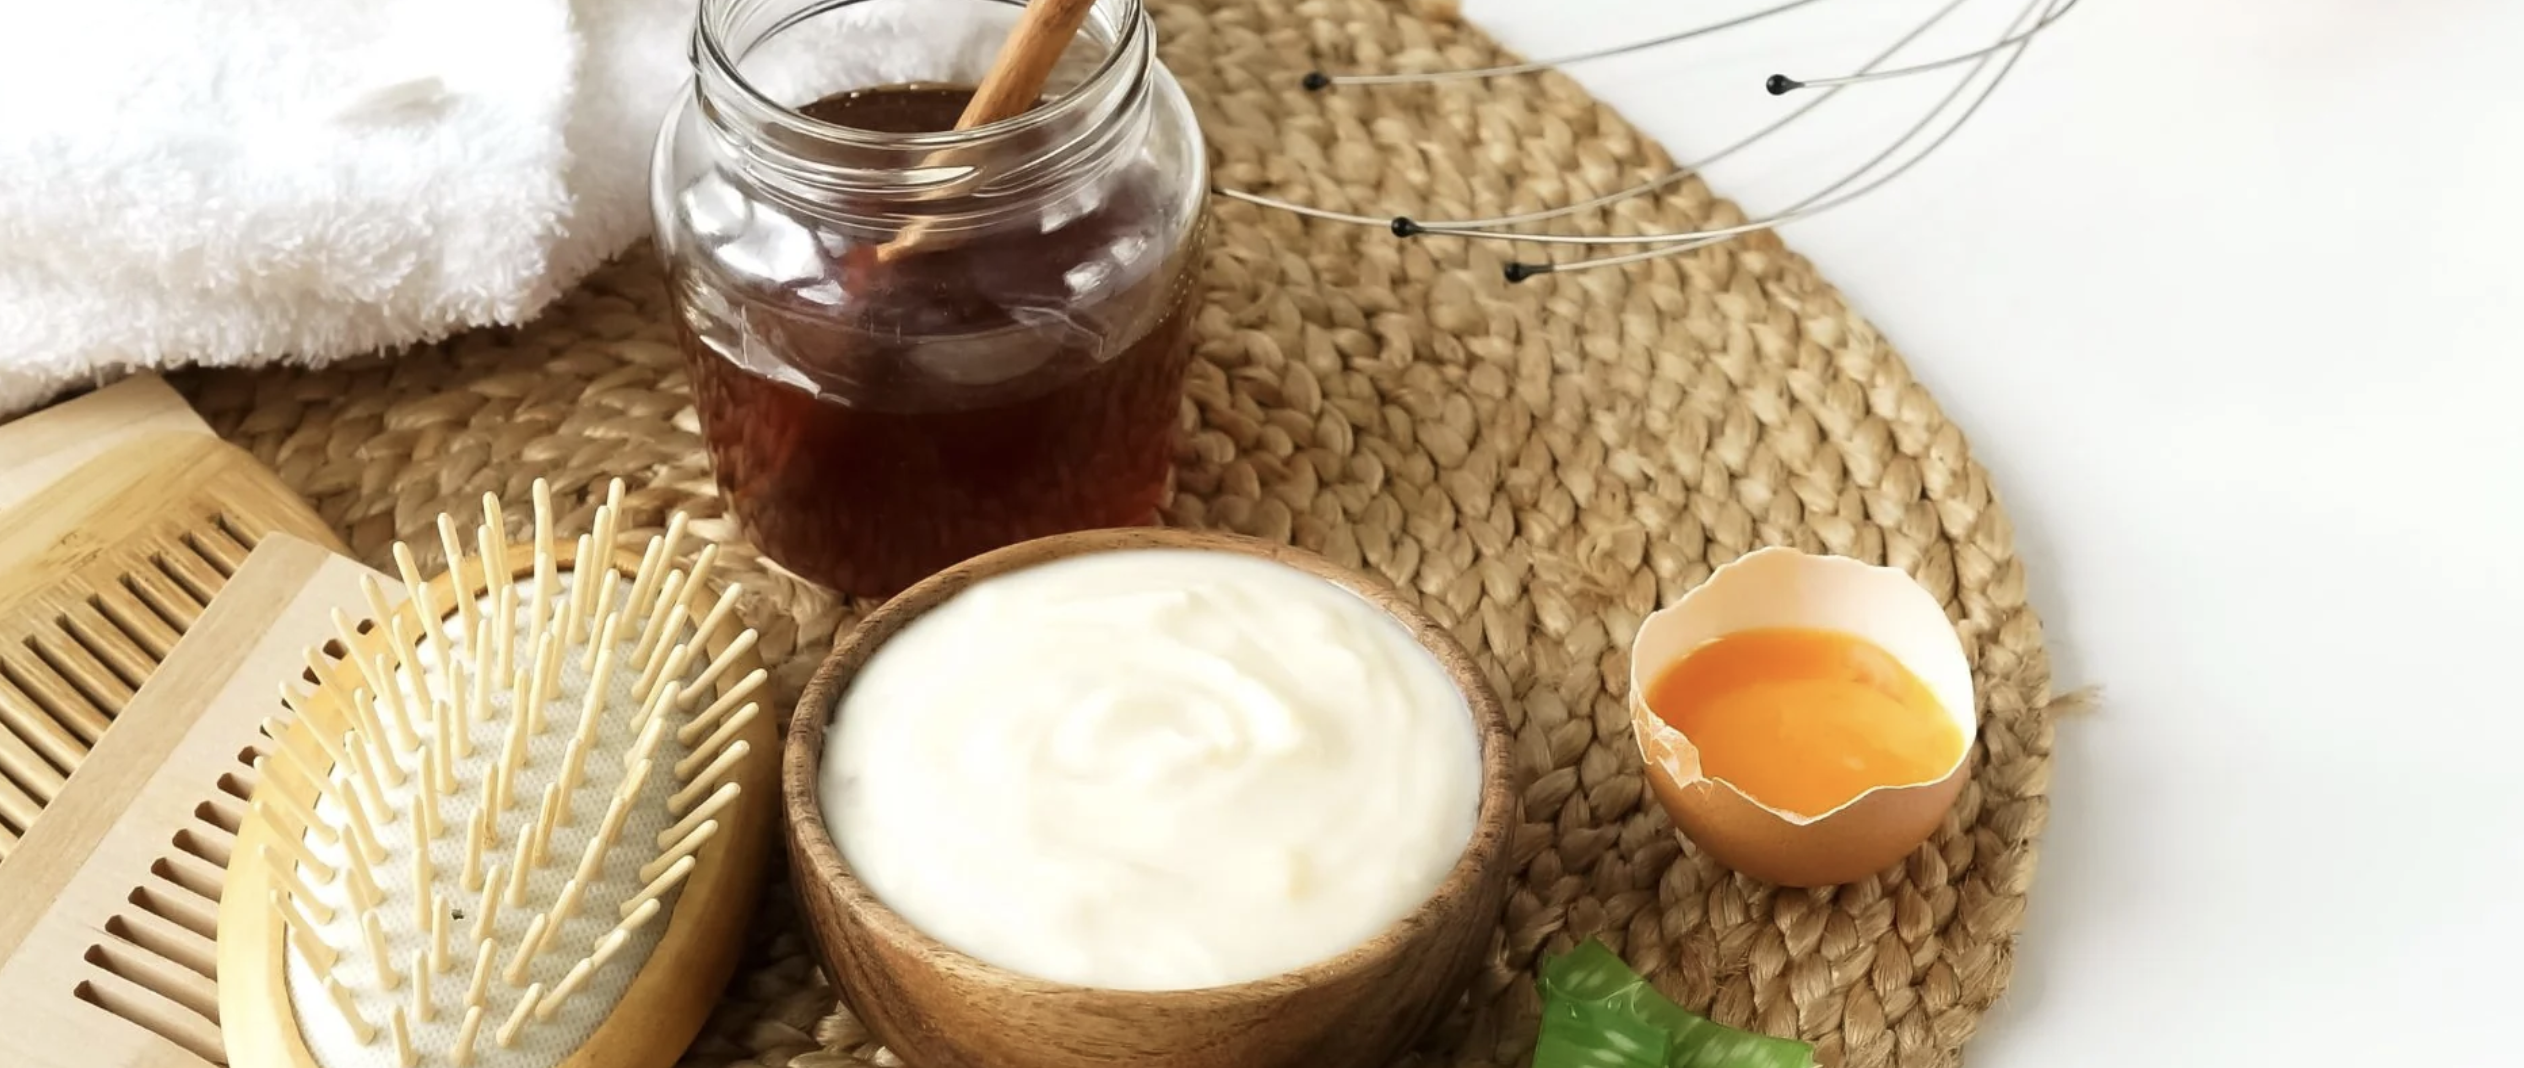
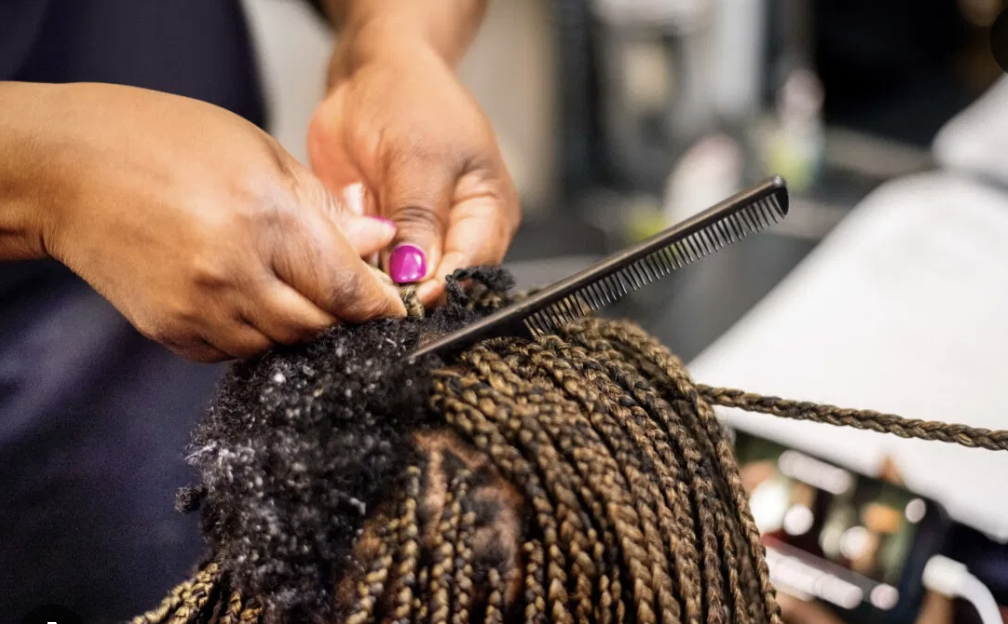
Essential Tools and Preparation
Before you begin, it’s important to gather the right tools. Proper preparation can go a long way toward achieving neat and enduring braids.
1. Tools You’ll Need
- Wide-Tooth Comb: Great for gently detangling hair before braiding.
- Fine-Tooth Comb or Tail Comb: Helps create precise partings.
- Hair Elastics: Choose gentle, snag-free options to minimize breakage.
- Hair Clips: Useful for sectioning and keeping hair out of the way.
- Hair Pins or Bobby Pins: Can secure stray strands and help you shape final looks.
2. Hair Products That Can Help
- Leave-In Conditioner: This can help detangle hair and keep it soft.
- Hair Oil or Serum: A small amount of a lightweight oil can reduce frizz.
- Styling Mousse or Gel: Provides hold, especially if you have silky or fine hair.
3. Pre-Braiding Prep
- Wash and Condition: Clean hair is easier to work with, but you might find braids hold better on hair that isn’t super-slick. Consider washing and conditioning your hair a day before you plan to braid, or use styling products to add a bit of grip.
- Detangle Thoroughly: Snarls and knots can disrupt the braiding process and cause discomfort. Work through each section of hair carefully with a wide-tooth comb.
- Part Your Hair: Depending on the braiding style, you’ll need to decide on a parting. Whether it’s a side part, middle part, or multiple sections, neat parting helps the end result look polished.
Getting Started with Basic Techniques
1: The Classic Three-Strand Braid
The classic three-strand is the foundational technique upon which many braids are built. If you can master this, you’re on your way to exploring more intricate styles.
Step-by-Step Instructions
- Section Your Hair: Gather all your hair at the back or side, depending on the look you want. Split it into three equal sections.
- Cross the Right Section Over: Take the section on the right and cross it over the middle piece, effectively swapping their positions.
- Cross the Left Section Over: Now take the section on the left and cross it over the new middle piece.
- Repeat: Continue crossing the right and left sections over the middle until you reach the ends.
- Secure the Braid: Tie it off with a hair elastic.
Feel free to tug gently at the woven strands to create a fuller look, known as pancaking. This is a quick way to achieve a more relaxed, voluminous style.
2: The French Braid
A French braid creates a woven look that starts at the crown and runs down the back of the head (or side). It’s slightly more challenging than the basic three-strand, but with a bit of practice, it becomes second nature.
How to Make a French Braid
- Start with a Small Section: At the top of your head, gather a small triangular section of hair. Split it into three equal pieces.
- Begin Braiding: Perform one or two crossovers as if you were doing a classic three-strand.
- Add More Hair: Each time you move a side section over the middle, add a small strand of loose hair from that side to the section. This incorporates all the hair gradually.
- Continue Down the Head: Keep adding hair from the sides as you work your way down.
- Finish: Once you reach the nape of your neck and have no more loose hair to add, complete a regular three-strand down the length. Secure with a hair tie.
The beauty of a French braid lies in its neat, woven appearance and the way it collects hair in a single style that can last for hours.
3: The Dutch Braid (Reverse Braid)
A Dutch braid is similar to the French braid, but instead of crossing sections over the middle, you move them underneath. This method creates an outward braid pattern that looks raised or “3D.”
Tips for a Perfect Dutch Braid
- Position Your Hands: Instead of going over the top, pass the right and left sections beneath the middle.
- Keep Your Sections Tight: Pull gently but firmly to keep the braid well-defined.
- Add Hair with Each Pass: Just as with a French braid, incorporate small sections of loose hair on each pass.
- Secure and Adjust: When you run out of hair to add, finish with a standard three-strand (crossing strands under), then tie it off. You can gently loosen sections for a fuller appearance.
Exploring More Advanced Styles
Once you’re comfortable with the basic three-strand, French, and Dutch braids, you can move on to more specialized looks.
4: The Fishtail Braid
The fishtail braid features a more intricate woven pattern that is often seen on runways and red carpets. It may look complicated, but it’s easier than you might think.
Creating a Fishtail Braid Step by Step
- Divide Your Hair in Two: Unlike a three-strand, you’ll just split your hair into two large sections.
- Cross a Small Strand: From the right section, pick up a thin piece from the outer edge and move it over to the left side.
- Repeat on the Opposite Side: From the left section, pick up a thin piece from the outer edge and move it over to the right side.
- Continue the Pattern: Keep crossing small strands from one side to the other, alternating.
- Tie It Off: Once you reach the ends, use a secure elastic.
This type of braid can be worn tight and sleek or pulled apart slightly for a looser bohemian feel.
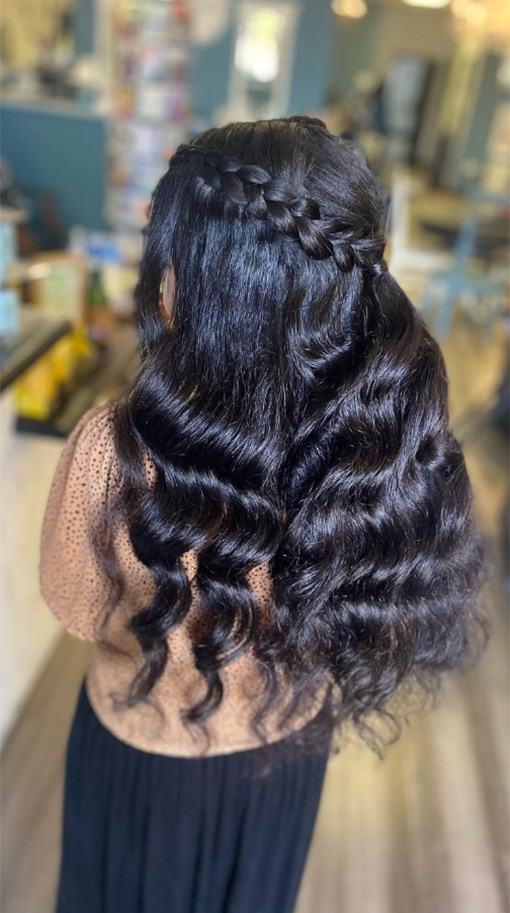
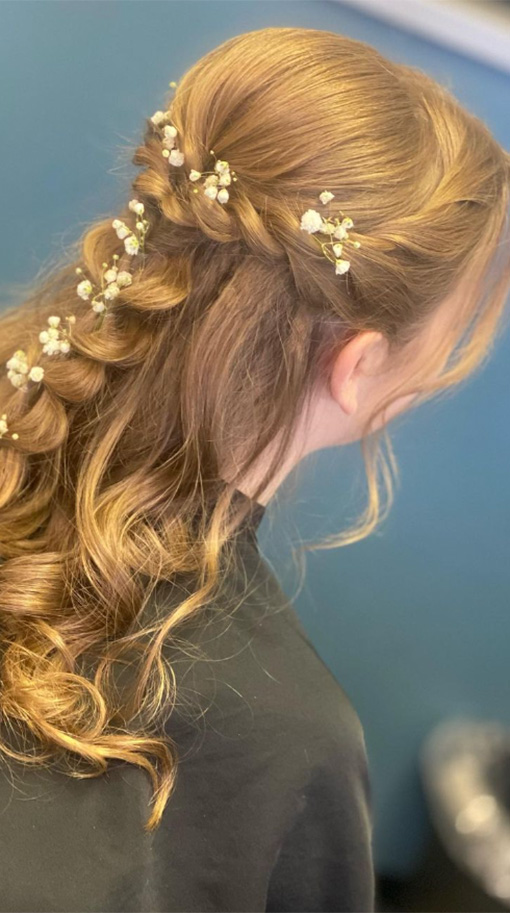
5: The Waterfall Braid
A waterfall braid is an elegant variation of a French braid. Part of the hair is “dropped” every few steps, creating a cascading look.
Steps for a Waterfall Braid
- Section a Portion at the Front: Take a small piece near the hairline and split it into three.
- Start Braiding: Begin as a standard three-strand.
- Drop One Strand: Each time you’re about to cross a top piece into the middle, let that section drop (this is what creates the “waterfall” effect).
- Pick Up a New Strand: After dropping the top piece, pick up a fresh strand from behind it and continue braiding.
- Secure or Continue: You can let the waterfall braid trail around your head or stop halfway and secure it with bobby pins.
This style is perfect for special occasions, offering a graceful twist on a classic braided look.
Tips for a Neat, Polished Appearance
6: Dealing with Frizz and Flyaways
Hair textures vary widely, so you might need different techniques to manage frizz or fine strands that slip out of braids. Here are a few suggestions:
- Use a Light Hair Serum: Just a drop or two can help smooth strands, but be careful not to overdo it.
- Hair Spray Lightly: After completing your braid, a bit of hair spray can hold everything in place.
- Wrap Up at Night: If you want your braid to remain neat overnight, use a silk or satin bonnet, or opt for a silk pillowcase.
7: Practice Makes Perfect
You may feel clumsy at first, especially when working with styles that require sectioning at the back of your head. Keep at it. With every attempt, your fingers develop muscle memory. Some people find it helps to practice on a friend—or even a mannequin—before trying to braid their own hair.
8: Choosing the Right Braid for Different Occasions
- Everyday Look: A simple three-strand or side braid is quick and low-maintenance.
- Sports or High-Activity: Dutch braids or boxer braids keep hair secure, especially if you’re exercising.
- Formal Events: Fishtail and waterfall braids add an elegant touch to wedding, prom, or party outfits.
Step-by-Step Guide to Creating a Full Braided Hairstyle
Now, let’s combine some of these techniques for a more elaborate hairstyle that looks great on medium to long hair.
9: Combined French and Fishtail Braid
This style offers the neatness of a French braid on top and the visual appeal of a fishtail in the length.
What You’ll Need
- Tail comb for precise parting
- Small elastic bands
- Hair clips to section off pieces
- Hair serum or mousse (optional)
Steps to Achieve the Look
- Part the Top: Create a square or triangular section at the crown where you’ll do a French braid. Clip away the rest.
- French Braid the Top Section: Start near the hairline and continue until you reach the end of your partition. Tie it off with a small elastic.
- Incorporate the Remaining Hair: Release the rest of your hair, combine it with the end of your French braid, and divide everything into two equal sections for the fishtail.
- Fishtail the Lower Section: Pick up a small piece of hair from the outer edge of the right section, cross it over to the left, then do the same from the left side to the right. Continue until you reach the ends.
- Secure and Adjust: Tie off the fishtail portion. Gently tug on strands to loosen if you prefer a fuller look.
This two-in-one style is perfect if you want something eye-catching yet not overly complicated.
Maintaining Healthy Hair for Braiding
Braiding can put stress on your hair, especially if you like tighter or more complicated styles. Here are some suggestions to keep your locks strong and healthy:
10: Regular Trims
Split ends are the enemy of neat braids. Aim for a trim every six to eight weeks, or at least every few months, to remove damaged ends that can cause tangling and fraying.
11: Deep Conditioning Treatments
A deep conditioning mask once a week or every other week can replenish moisture, reduce breakage, and boost shine. Focus on the mid-lengths and ends to strengthen the areas most prone to dryness.
12: Avoid Over-Tightening
Pulling hair excessively tight can lead to breakage and even tension headaches. While it might be tempting to make every braided strand super-sleek, remember that it’s better for your hair’s health to loosen up a bit.
Common Beginner Mistakes and How to Fix Them
13: Uneven Sections
When learning, it’s common for some strands to be bigger than others, making the braid look lopsided. Take a moment to carefully divide your hair into even portions. Use a mirror or ask for help if you find it tough.
14: Slipping Braids
If your hair is very fine or silky, braids can slip or unravel. In this case, adding a bit of styling product for grip can help, or slightly backcombing the sections at the roots.
15: Rushing
Braiding takes time, particularly when you’re trying to master new techniques. Slow down and focus on each crossing motion. Practice short braids first, or set aside an evening to play around with different hairstyles.
Final Thoughts on Braiding
Learning to braid is an excellent way to spruce up your hair routine without constant salon visits or expensive products. You can experiment with countless looks, from casual and sporty to sophisticated and ornate. Don’t be discouraged if your first few attempts look messy—everyone goes through that stage. Over time, you’ll develop a sense of how tight to hold the strands, how to incorporate hair seamlessly, and how to achieve styles that reflect your personal taste.
Remember that there’s no single “right” way to wear braids. Once you have a grasp on techniques like the classic three-strand, French, Dutch, and fishtail, let your imagination run free. You can add accessories such as ribbons, floral clips, or jeweled pins for special occasions. You can even mix braiding methods in a single hairstyle, combining Dutch braids on top with fishtails at the ends, or incorporating braided crowns around your head.
With patience, the right tools, and consistent practice, you’ll find yourself weaving braids confidently in no time. Now that you know the fundamentals, it’s a great moment to pick a new style, set aside some time, and start weaving your way to eye-catching hairstyles.